Introduction: Why Your Cast Iron Needs a Second Chance
There’s a reason cast iron skillets have been passed down for generations. They’re practically indestructible, versatile, and they only get better with age.
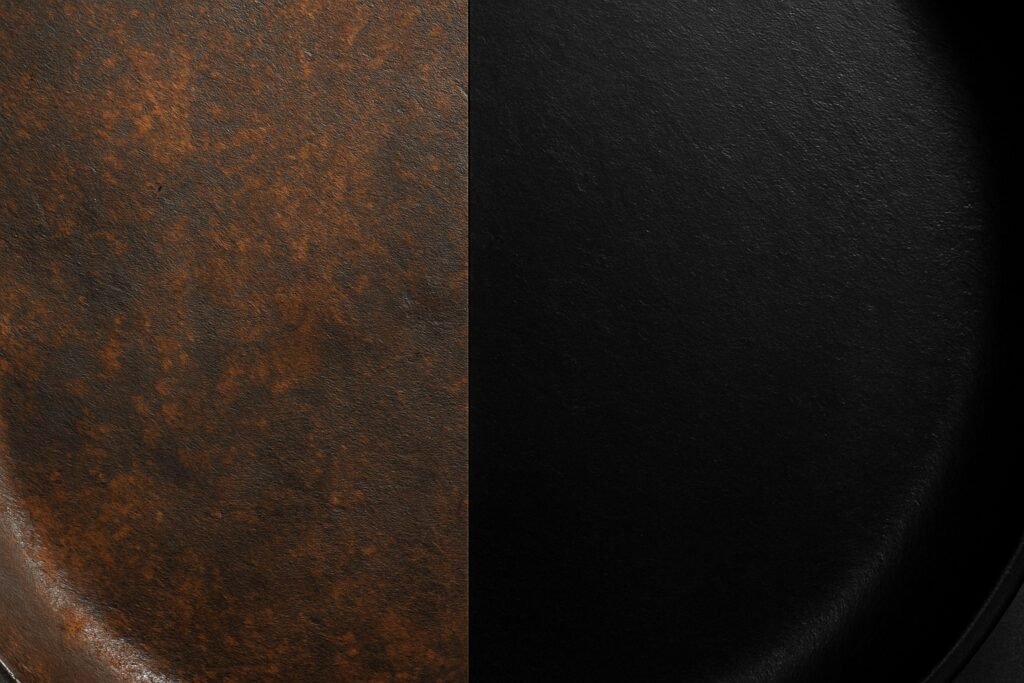
But even the most well-loved skillet can lose its luster. Maybe it’s rusty, food sticks to it, or the surface looks dull and patchy. That’s your sign: it’s time to re-season.
Re-seasoning is the process of restoring the protective, non-stick coating by bonding a thin layer of oil to the metal through heat. It’s not just maintenance, it’s a way to bring your skillet back to life and make it better than new.
Why Re-Seasoning Matters
A properly seasoned skillet is:
- 1. Non-stick (without synthetic coatings)
- 2. Rust-resistant
- 3. Easy to clean
- 4. Better at searing, baking & frying
If you skip re-seasoning when it’s needed, you risk:
- 1. Flaky surface layers
- 2. Rust spots
- 3. Uneven heating
- 4. Sticking food that’s a nightmare to clean
How to Tell If Your Skillet Needs Re-Seasoning
You’ll know it’s time if:
- The surface is dull or grey instead of shiny black
- Food sticks more than usual
- Rust spots are visible
- You’ve scrubbed it heavily with soap or steel wool
- You accidentally left it soaking in water
Tip: Even a new cast iron skillet can benefit from an extra seasoning session to boost durability.
Step-by-Step Guide to Re-Season a Cast Iron Skillet
Step 1: Strip Old Seasoning or Rust
If your skillet just needs a touch-up, skip to Step 2.
But if it’s rusty or has sticky buildup:
- 1. Scrub with steel wool or a chainmail scrubber.
- 2. For heavy rust, soak in a 50/50 vinegar & water solution for up to 8 hours, checking every 15 minutes after 1 hour.
- 3. Rinse thoroughly with warm, soapy water (this is one of the few times soaps is OK).
- 4. Dry completely with a towel, then place over low heat for 5 minutes to evaporate remaining moisture.
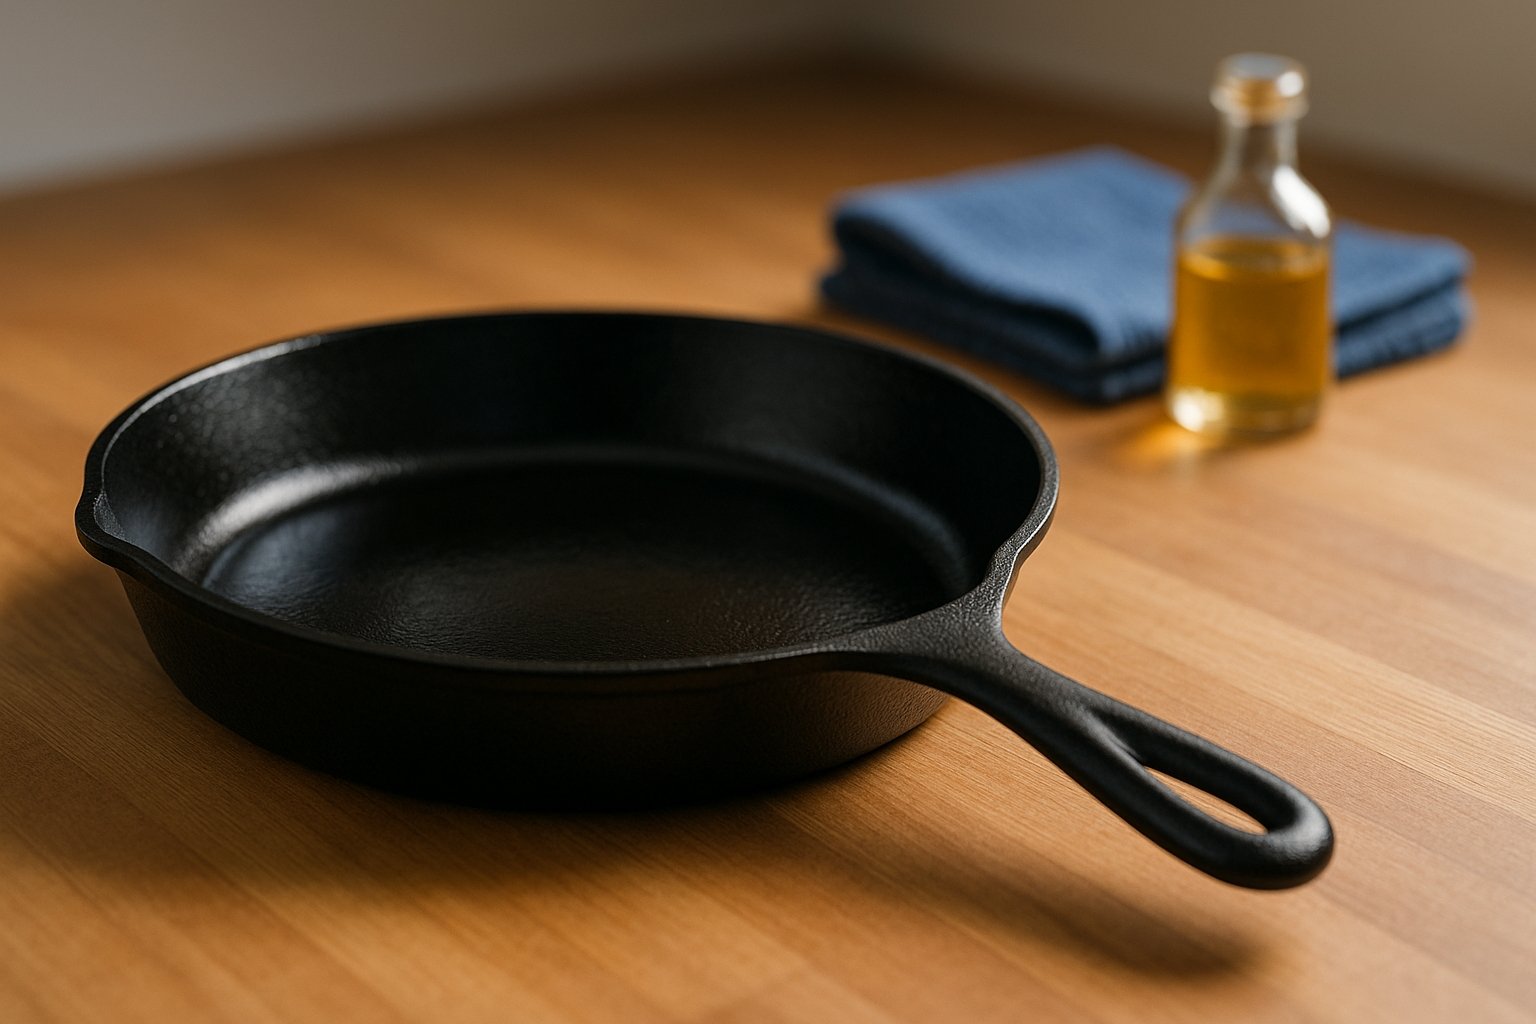
Step 2: Choose the Right Oil
| Oil Type | Smoke Point (°F) | Best For | Notes |
|---|---|---|---|
| Flaxseed Oil | 225°F | Ultra-hard coating | Can be expensive, needs thin layers |
| Grapeseed Oil | 420°F | Everyday use | Neutral flavor, affordable |
| Canola Oil | 400°F | Budget option | Common in U.S. kitchens |
| Sunflower Oil | 440°F | European markets | High availability in UK/EU |
| Avocado Oil | 520°F | High heat cooking | More costly but durable |
Pro Tip: Avoid extra-virgin olive oil—it burns too fast and creates a sticky layer.
Step 3: Apply a Thin Coat
- 1. Pour ½ teaspoon oil into the pan.
- 2. Use a lint-free cloth or paper towel to coat inside, outside, and handle.
- 3. Buff away excess oil until the surface looks almost dry—this prevents sticky buildup.
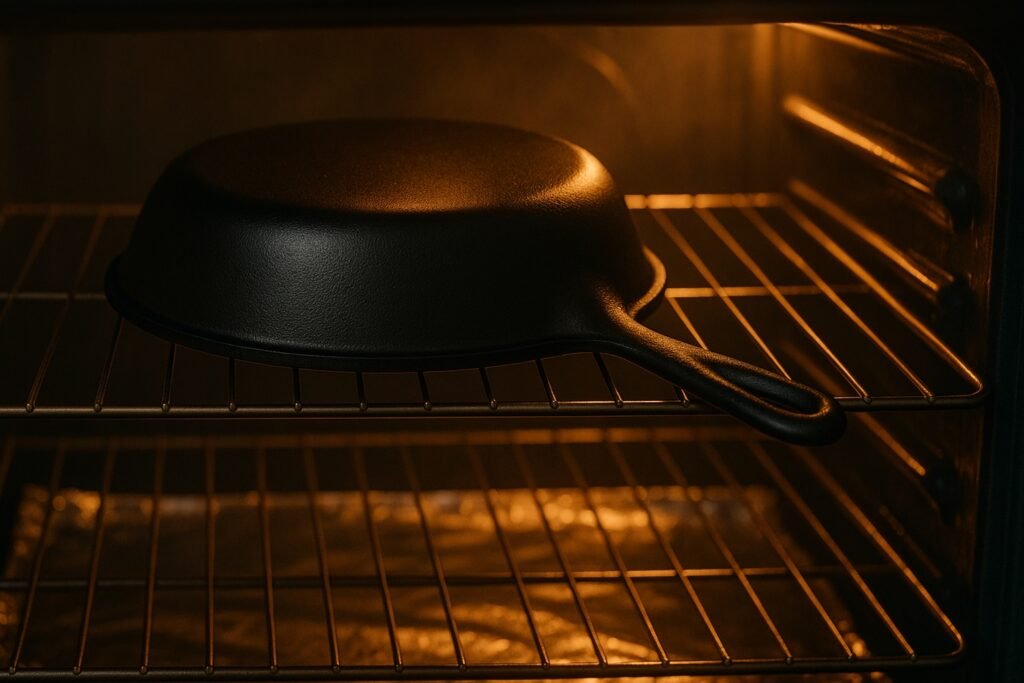
Step 4: Bake It
- 1. Preheat oven to 450–500°F (232–260°C).
- 2. Place foil on the bottom rack to catch drips.
- 3. Position skillet upside down on the middle rack.
- 4. Bake for 1 hour.
- 5. Turn off the oven and let it cool completely inside—this slow cooling helps bonding.
Step 5: Repeat for Durability
For a stronger, smoother finish, repeat oil + bake steps 2–3 times.
Common Mistakes to Avoid
| Mistake | Why It’s Bad | Fix |
|---|---|---|
| Using too much oil | Creates sticky surface | Buff oil until nearly invisible |
| Skipping preheat | Uneven seasoning | Always heat oven fully |
| Using low smoke-point oils | Oil burns, smells | Stick to neutral, high smoke-point oils |
| Not drying fully | Rust forms | Heat skillet to remove all moisture |
Maintenance Tips to Keep It Seasoned Longer
- 1. Avoid prolonged soaking in water
- 2. Clean with hot water + brush or coarse salt scrub
- 3. Dry on the stove over low heat
- 4. Apply a light oil coat after each wash
- 5. Avoid acidic foods (tomatoes, wine) in early seasoning stages
- 6. Store in a dry place with a paper towel inside to absorb moisture
USA, UK, Canada & EU Seasoning Considerations
- USA: Canola & grapeseed oil are most affordable and available.
- UK: Rapeseed oil is equivalent to canola and widely sold.
- Canada: Flaxseed oil is popular for its hard finish.
- EU: Sunflower oil is the budget-friendly go-to for high smoke points.
When to Re-Season vs. When to Replace
- Re-season: Any time rust, dullness, or sticking appears.
- Replace: Only if the skillet has cracks or deep pitting—rare for quality brands.
Pro Seasoning Hacks from Cast Iron Communities
- 1. Wipe oil with a blue shop towel—less lint.
- 2. Season outdoors on a gas grill to avoid indoor smoke.
- 3. Use your skillet frequently—cooking with oil maintains seasoning naturally.
Conclusion: Your Skillet’s Second Life
Re-seasoning a cast iron skillet isn’t just repair, it’s renewal. With the right oil, method, and care, your pan can last decades and even become better than the day you bought it.
Follow this guide every time your skillet shows signs of wear, and you’ll enjoy flawless cooking for years to come. Whether you’re searing steaks in Texas, frying fish in Cornwall, making poutine in Toronto or baking bread in Paris.